
This was a week-long project that my brother commissioned for his wife’s birthday. She had a clear understanding of what she wanted, and had even laid it out with painter’s tape.

There are, of course, little things that get in the way of carrying out a design like this. For example, do they want me to cut up the carpet and build it from the floor up? That would require removing the baseboards, cutting the carpet, moving the tack board, then stretching the carpet so that it doesn’t wrinkle or fold in traffic areas. Also there are outlets. You don’t really want the outlets covered by the shelves. Do you want the bottom shelf to be the carpet or do you want it raised with a kick plate? Do you want a recessed kick plate or flush with the outside of the shelves? Do you want the cables for the TV to run behind the wall? How can we hide all those cables? What about the top of the shelves? Do you want it trimmed with decorative trim or just the regular shelving?


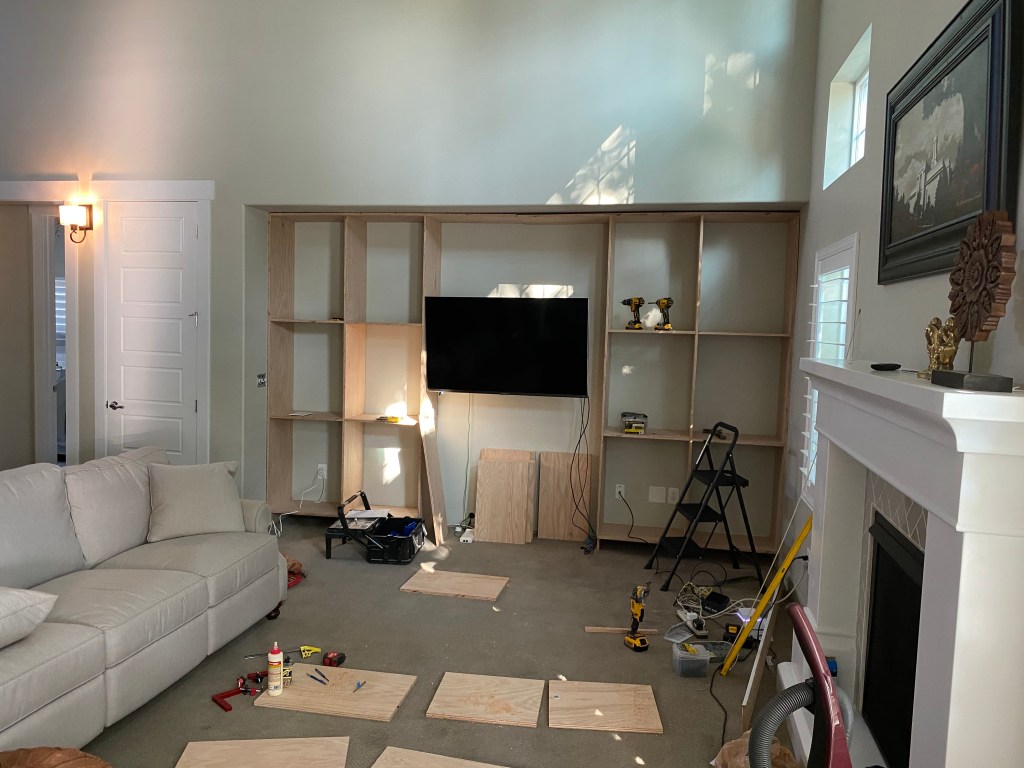

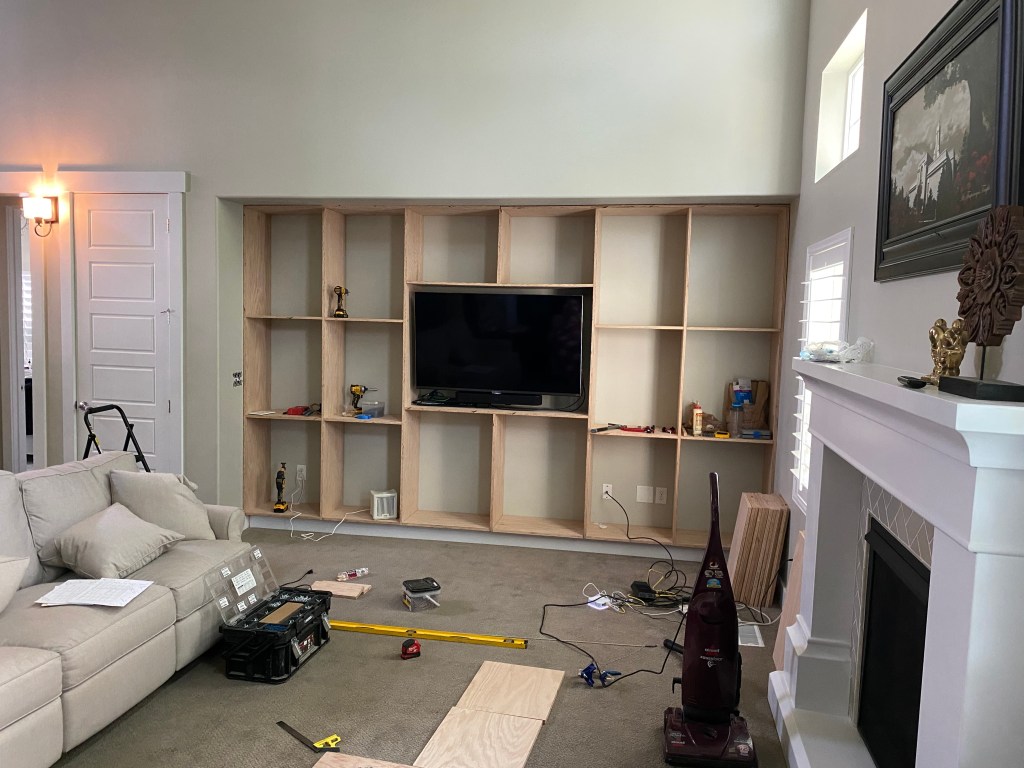


As you follow the profession of the photos, you can perhaps see that I built this on the carpet (it was less of a hassle anyway–I was happy not to have to cut the carpet, it’s not my favorite job). I ended up taking the baseboard off the back wall to use as my recessed kick plate. I built the shelves in really two sections. The left and right sections mirror each other. The middle and third section isn’t really built into a separate section. The shelves and supports were mostly added to the left and right sections. I ran a power cord behind the wall to a surge protector under the middle section. Both bottom panels in the middle section are floating so that you can remove them to access the surge protector. You can also see in the progression that each side has three sections; the two shelves between the top and bottom are permanent shelves, while the three other shelves are adjustable. You may also be able to see that the light switch cover plate had to be trimmed a little to fit in the depth of the shelf.
I used cabinet grade red-oak faced plywood for most of the structure, but trimmed the plywood with solid oak for stability. Plywood is cheaper than solid wood, but my sister-in-law wanted to have a 16 inch depth which is not something that is usually in stock; if it were, the cost would easily be two to three times as expensive. Yes, solid wood is likely more sturdy, but it is also unnecessary. These shelves will last a long time. They do look really nice and and could be completed with a light finish, but the intent all along was that they would be painted white (which my brother was able to do), so that it would match the interior design of their home.
While these are not my first shelves, they are perhaps the largest built-in shelves that I’ve ever made, and the experience was really enjoyable. As they live far from my home, they accommodated me and their son was kind enough to organize some evenings of relief and distraction from the project with some rousing games of croquet and badminton–which was enough to give me a spurt of exercise outside my work motions and rest the gray cells (as Agatha Christie was fond to call them in her writings).
